
-This post may contain affiliate links-
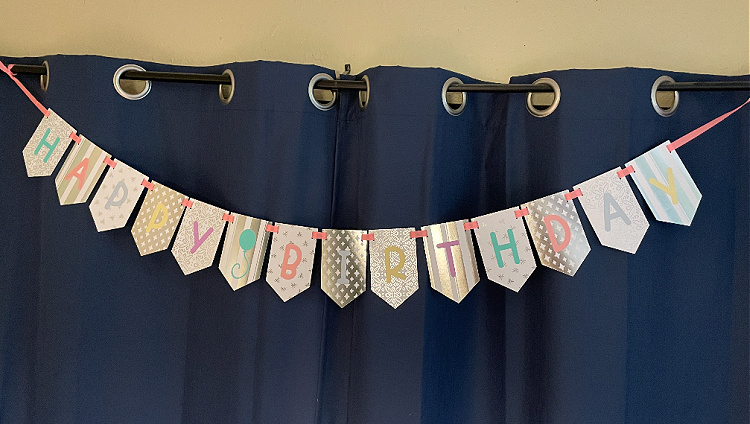
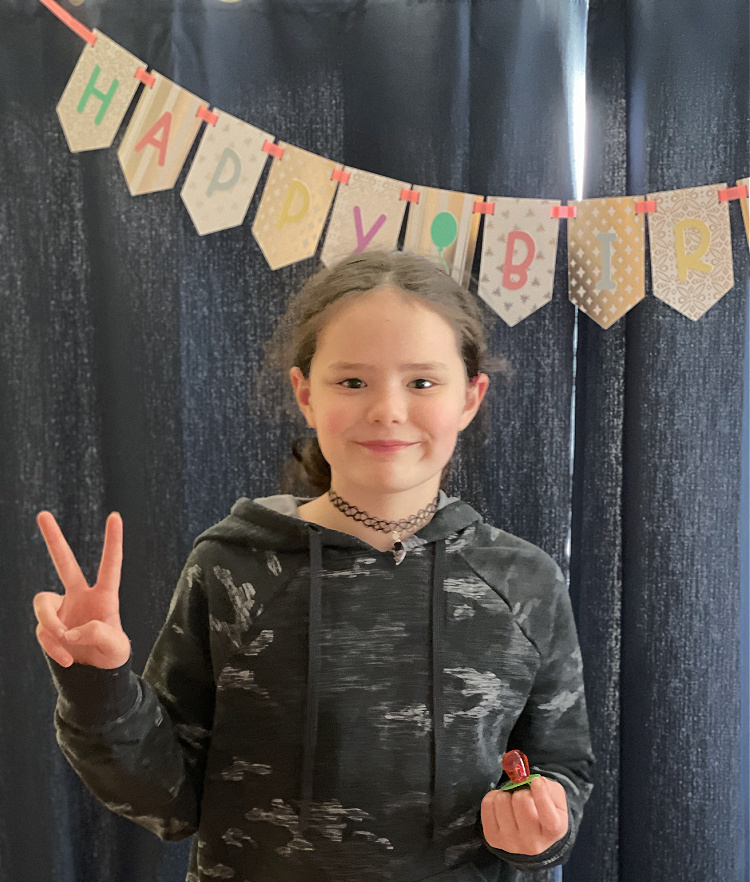
We recently celebrated my daughter's birthday and kind of last minute I decided it would be fun to put up some kind of decoration while she was at school to surprise her with when she got home. I only had a few minutes and I didn't have any balloons or streamers or anything like that, but I had lots of paper and a Cricut so I made a super quick, simple Happy Birthday banner to hang up for her.
It is really easy to customize a banner using the different shapes available in design space and whatever font you want to use. You can put any words or phrases on your banner, depending on the occasion, but I just did "Happy Birthday".
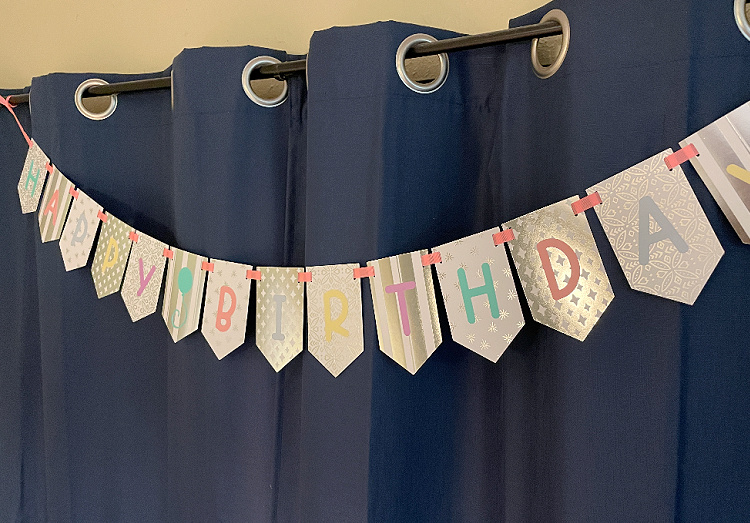
It came together really fast. I used some shiny silver foil embossed paper for the banner pieces, and to make it extra quick and easy I used Smart Paper Sticker Cardstock for the letters. That meant I didn't have to use any glue or anything, just peel off the letters and stick them in place.
It was super easy to make and in just a few minutes I had a decoration to hang up by the kitchen table where I had her presents and cupcakes. She was excited to see it when she came home from school.
That is one of my favorite things about my Cricut, it makes last minute projects like this possible, and easy.
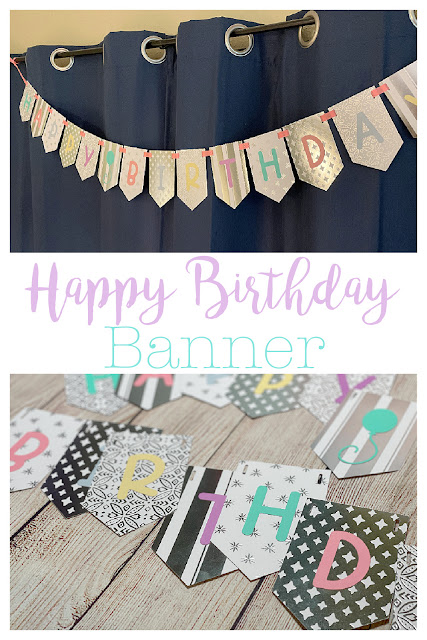
How to Make a Happy Birthday Banner with Cricut
You will need:
- Cricut Maker, Explore, or Joy
- Foil Embossed Paper or Colored Cardstock
- Smart Paper Sticker Paper
- ribbon
Instructions:
Open Design Space and either use my Birthday Banner file, or create your own banner.
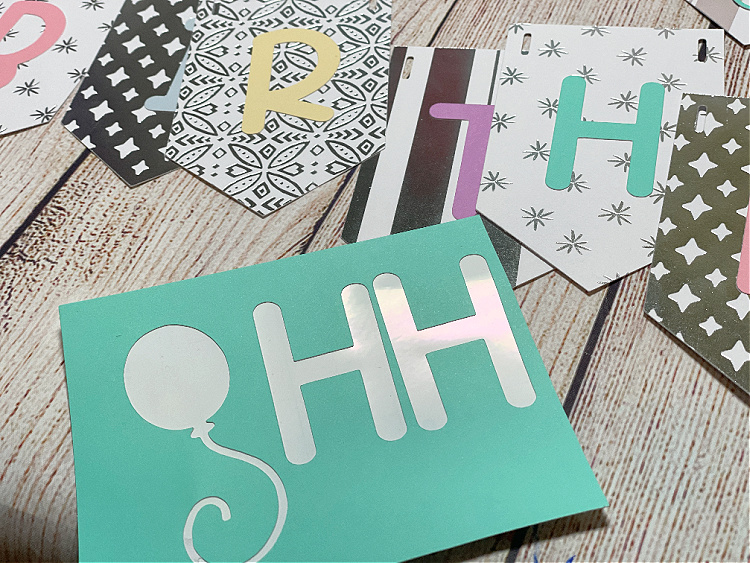
If you are using my design you can just open it, resize as needed and change the number of colors to fit your needs. I had 4 colors of background and 5 colors of letters. Adjust as needed and then cut out.
If you want to create your own start by choosing a banner style. I just searched banner and came up with several shapes as options for my banner. I chose the pointed rectangle style, but there were versions with a v cut out of the bottom, rounded edges, square, scalloped, pretty much anything you want.
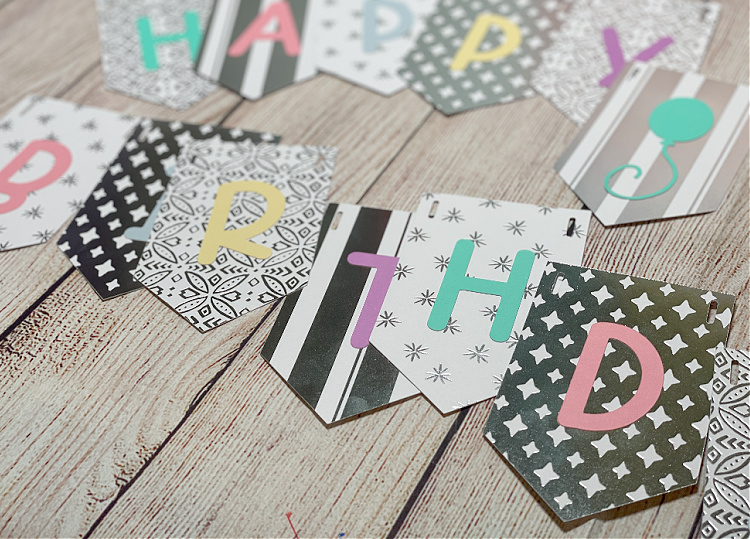
Adjust the banner piece to be the size you want for the finished banner. Duplicate the banner piece as many times as you need for the words you want to include, I had 14 banner pieces for the letters and space.
Next add your letters. Type out the words you want and choose a font. I used the font Love Story. Resize the text to fit the banner pieces. Separate to letters and change the colors to the numbers of colors you want. I just rotated through the 5 colors I had. I added a balloon to put on the space between the words.
Next cut out the banner. If using the Smart Paper with either a Maker 3, Explore 3, or Joy you can cut it without a mat. For that choose multiple ways for the mat option, that way you can cut the banner pieces out with a mat, and the letters without.
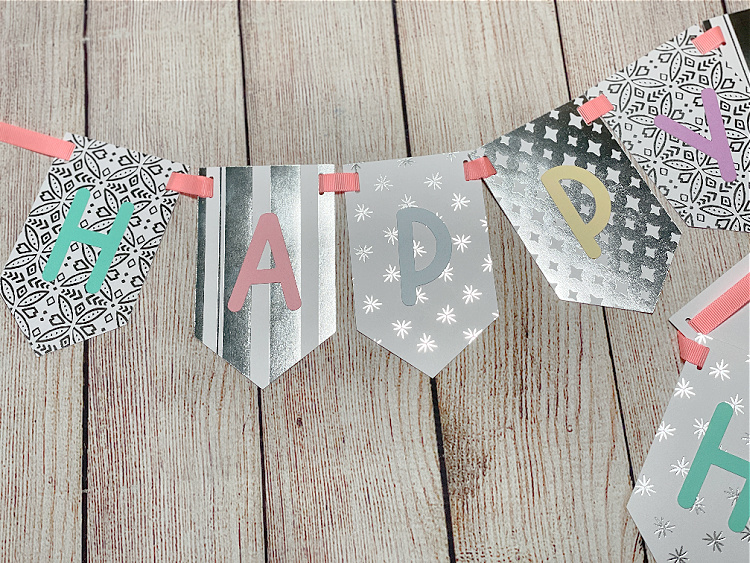
Put the banner pieces in order and stick the letters onto the banner. Next string the banner pieces onto a long piece of ribbon.
Hang up and enjoy!
No comments :
Post a Comment