
-Sponsored by Cricut. This post contains affiliate links-

One of the things that I love to do with my Cricut is use images, shapes, and text available in Design Space to create my own designs. You can combine them in all sorts of ways to make anything you want. Sometimes you may only want part of an image or maybe you want to add something to it. I feel like when it comes to creating your own designs some of your best friends in Design Space are the slice, weld, attach, group, and ungroup tools. Once you know how to use those tools you can create pretty much anything you want.

The design that I made for this post was made using some of those tools. The first thing that I did was find a shape that I wanted to start with. I wanted a US shape but the one that I found that I liked was more than just the solid shape I was looking for. It was made up of two layers, one solid and one with stripes cut out. When you use Cricut Access images that have multiple layers the layers are grouped so that they are all one image made up of multiple layers, rather than just a bunch of layers showing up separately on your screen. If you click on the image one of the options that comes up under layers is "ungroup". Click that and it will separate your layers so that you can delete the layers that you don't want. Once I had done that I had the base image that I wanted and I just needed to add the text. For this project though, I wanted the letters cut out of the shape rather than a layer of their own. To do this you type the words and position them where you want them to be. Then select everything and click on "slice", found in the bottom right corner. You can only select two layers to slice so if you have more than that you need to hide or move those that you are not slicing at that time. After the text I added a couple of stars and sliced them the same way. I show how I do it in the video below.
Once you have your design ready you can use it in whatever way you want. This particular design I created in order to make t-shirts for my girls to wear on the 4th of July. I used foil iron on to make the shirts because I thought the shiny foil would be perfect for the 4th. I used red, blue, and silver for the shirts I made.

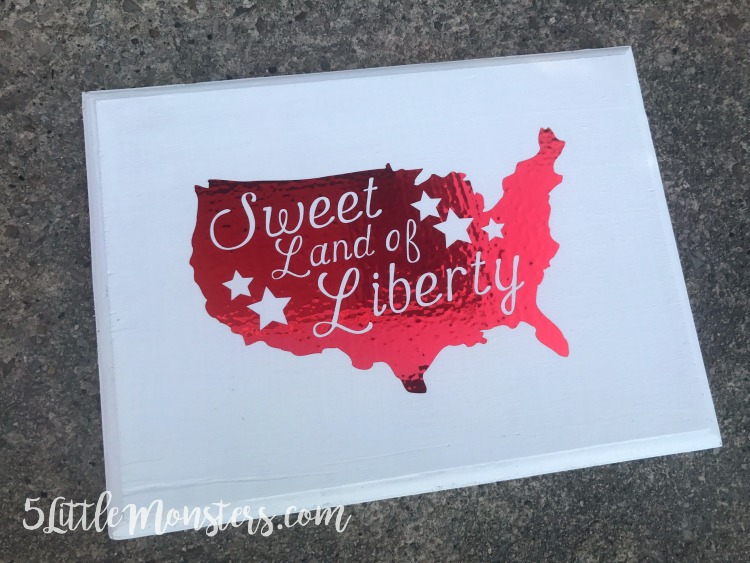
One of the great things though is that once you create the design you could use it for other things as well. I had some adhesive foil as well so I cut the design out of that and stuck it on a piece of wood that I painted white to make a sign.
Once you get comfortable with the tools that are available in Design Space it is easy to play around with them and create. If you mess something up you can always hit the undo button. You really can't mess stuff up too much and it really opens up the possibilities of what you can do. You can also play around with the materials that you use to make all sorts of different projects.
You can find the cut file that I made here: Sweet Land of Liberty Design Space File

This is a sponsored conversation written by me on behalf of Cricut. The opinions and text are all mine.
No comments :
Post a Comment