-This post may contain affiliate links-
I have been seeing a lot of tie-dye projects around this summer, not just DIY stuff, but also things you can buy in stores. I haven't made a tie-dye project in years. In fact a few years ago I had a giant tie dye kit that I got at a blog conference and after using just a couple of colors I donated the rest of it to my kid's school because I didn't really think I would use it again. But, seeing so much tie-dye made me want to give it a try again.
I thought face masks were the perfect opportunity to tie dye something. I knew we were going to need a lot of them as we get ready for school to start again and masks will be required, and I knew my girls would absolutely love them. They got so excited when they saw me carry the tie dye kit into the house.
I ordered a pack of plain white cotton masks on Etsy, and picked up a Tulip Tie-Dye kit from Walmart. Tie Dye kits were surprisingly hard to find, I guess with everyone being stuck at home people are tie-dying more? I kind of wanted just a small kit with 3-4 colors but ended up buying a bigger set with 12 colors. I let my girls help me pick out the colors that they wanted their masks to be.
We chose 4 colors: pink, blue, fuchsia, and teal. Pretty much everything we needed to get started was included in our kit, however I would recommend getting tighter fitting gloves. The ones included in the kit were really loose and kept getting caught in the rubber bands. Really the only thing besides the masks that we needed was some plastic wrap to wrap the dyed masks in while the color sets.
Once you dye the masks they are supposed to set for 6-8 hours. I got a little excited to see how they turned out and ended up rinsing mine out a little early (after only about 4 hours). When I first rinsed them the colors were pretty bright, but then I washed them and faded quite a bit. I actually really liked how the colors turned out, I think they are really pretty colors, but if you want more vibrant colors make sure you wait the full 8 hours. Also, one more think to note, these masks were 100% cotton with poly cotton elastic and you can see that the poly cotton did not take the color nearly as well.
I did try some other masks that I found at Walmart to see if letting the dye sit longer really made a big difference, and it definitely did. The 2 fabrics were a little different (the original ones were a much thinner fabric) as well so that also could have had an effect, but the second masks were much brighter. They were a little harder to dye because they had a metal nose strip that you had to kind of work around, so some of the designs would have been harder to make. But you can see I used the teal dye and they came out looking like teal, where the original masks the teal was a light minty green color.
Either way, bright or pastel, the masks were a lot of fun to make. My girls loved helping and they were excited to pick their favorites. My favorite part was unwrapping them to see how they turned out.
How to Tie-Dye Face Masks
You will need:
- plain white cotton face masks
- tie dye
- gloves
- rubber bands
- plastic wrap or plastic baggies
Instructions:
Watch the video below for a full tutorial or scroll down for the written instructions.
First you will want to get all of your supplies ready. I used the Tulip One-Step Tie Dye kit and followed the preparation instructions on the box. The only thing that I did differently was I didn't want to waste any of the dye and since the masks were small I only filled my bottles half full and used half of the dye powder. If you use a different brand follow the instructions provided to prepare your dye.
Dampen your masks with water.
Fold the masks and add rubber bands in different ways to get different tie die effects. Below are some of the methods I used.
Once you have folded and rubber banded all of your masks squirt the dye onto the masks. We did some masks in a single color, others with two highly contrasting colors, some with two very similar colors for less contrast, and some used all 4.
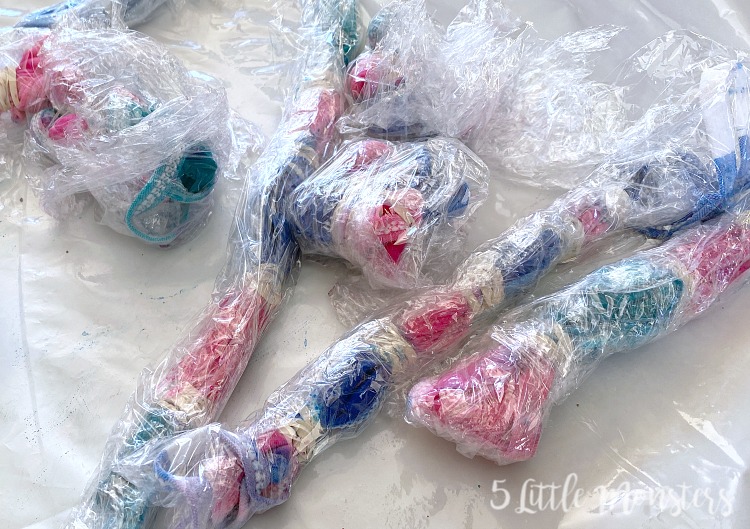
After you squirt the dye on and have it all covered, wrap the dyed mask with rubber bands still on tightly in plastic wrap (or seal inside of a zip top baggie) and set aside for 6-8 hours.
Rinse the masks in cold water until the water runs clear and no more dye is coming off.
Wash and dry by themselves in hot water to set the colors.


No comments :
Post a Comment