
-This post may contain affiliate links-

For me crafting is a big stress reliever. It is almost therapeutic for me when I am feeling really stressed or overwhelmed with life, to pick up some yarn and a crochet hook, or a paintbrush, or go sit at my sewing machine and make something. Sometimes when I am feeling that way I just want to make something without really thinking too much about it, just sit down and create something. At those times one of my favorite things to do is get out some paints and just play around with them.
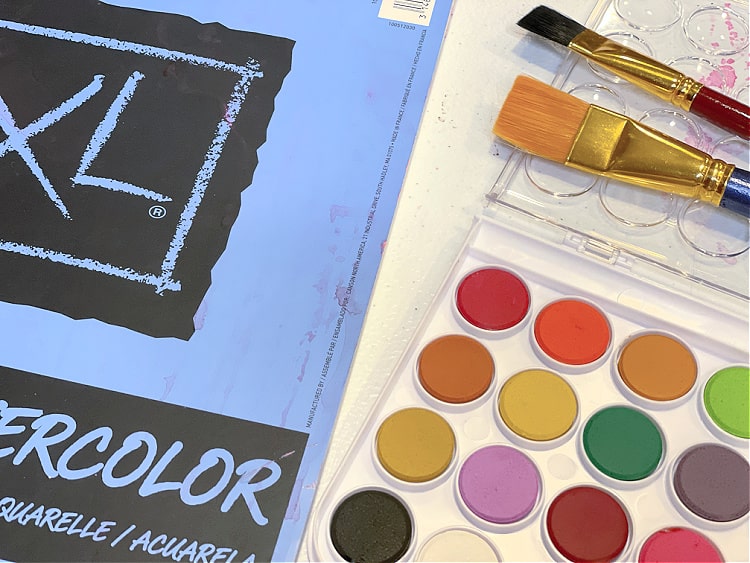
Several weeks ago I was feeling really stressed with a busy schedule and all of the things we had going on so one night I went down to my craft room, pulled out some paper, paints, and brushes, and just played with watercolors. I painted just for fun, nothing great, just trying out different techniques and ideas. At first I wasn't trying to make anything with what I was painting, just enjoying some creative time.

Then I thought of a simple idea to make with watercolors and I took a couple sheets of watercolor paper and just did a wash all over the page. I really like the look of watercolor washes, especially when they are done in more than one color, but colors that are next to each other on the color wheel. When you try to do a purple and green watercolor wash you are going to end up with a brown, muddy, mess. But when you combine shades of purple and pink, or green and blue it can be really pretty.

In the past I did a similar project where I turned watercolor paintings into bookmarks, and I had the idea to do something like that again but this time make them into gift tags. So once I painted a couple of pages in different colors I set them aside to dry.

Then I came back later and used my Cricut to cut them into different tag shapes and to draw and write on them. I cut out a few different shapes of tags and made some that just said to and from, others that said happy birthday, and some that just had a simple drawing on them. Because they were cut out of a hand painted watercolor wash, each tag turns out unique in the coloring and it is neat to see how each one looks as it cuts.

How to Make Watercolor Gift Tags
You will need:
Instructions:
To start you will need to make the watercolor wash. You can tape your paper down to your work surface if you want. Choose the color combination you want to work with. Because they will blend together a little bit colors that are next to each other on the color wheel will give you the best outcome, so choose 2-3 colors next to each other aka: analogous color combinations. Depending on the paints you are using you can use more than one shade of each color, for example on the pink and purple wash I used 2-3 different pinks and 2-3 different purples, and even added a little bit of blue.
Cover the paper with a layer of water everywhere you want paint to go. You want it pretty wet but not pooling.
Add watercolor to the wet area on the paper. I wanted to have splotches of different colors bleeding into each other with no real pattern so I just added random spots of the different colors all over the wet paper until I was happy with the look and the paper was covered with color.
Let your painting dry completely.
In Cricut Design Space you can use my Watercolor Gift Tags design that includes all of the designs that I made, or you can create your own.
To create your own tag designs, first decide on the shape that you want. I searched tags in images and chose a few that I liked, all free with Cricut Access, but if you want a free option you can use shapes to create your own tag shape, just chose a shape and slice a hole in the top.
Once you have your tag shapes ready decide what you would like to have on them. You can add text by searching writing style fonts and choosing one you like, or you can search images and in the filters on the left side (on a computer) you can select draw only under operation type and it will show you designs that can be drawn onto the tags.
Place the images or text on the tags and arrange the way you want it, then select both the tag and image/text and click attach.
Resize as desired and then your designs are ready to cut.
Place the painted paper on the mat as normal, changing the material size to the size of your paper (mine was 9"x12"). Select Heavy Watercolor Paper as the material. I found my machine cut the watercolor paper better when I changed the pressure to more.
Be sure to add the pen that you want to use to the machine before you begin the cut.
Cut following the machine prompts.

No comments :
Post a Comment