
-This post may contain affiliate links-

Like I mentioned in my last post, I recently received some newly released products from Cricut to try and over the next couple of day I plan on sharing the products, and the projects that I made with them. The thing I was most excited about was the color changing vinyl and iron on.
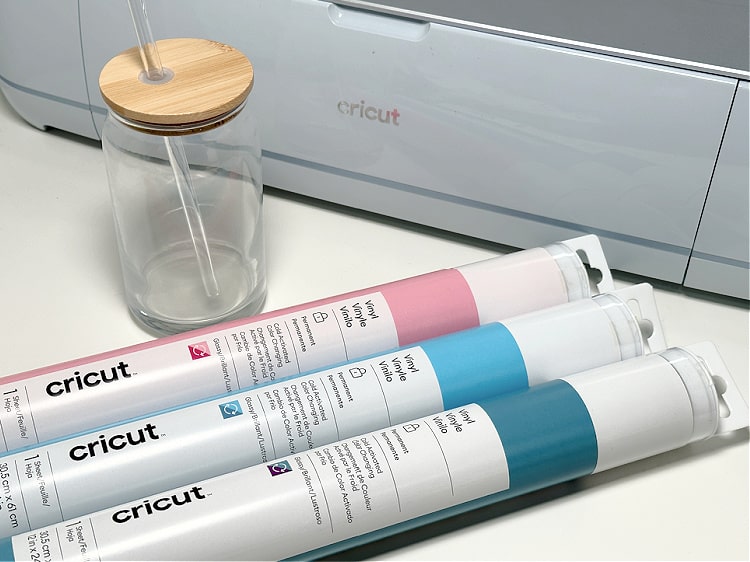
They came out with 3 types of color changing products. One was a UV activated color changing iron on that I used in my last post to make some fun t-shirts for my kids. Another was a heat activated color changing vinyl. And the last was the one that I used in this project, cold activated color changing vinyl.
I have seen these glass can shaped cups all over on social media, so that was the first thing that came to mind when I thought of something that would get cold for the cold activated color changing vinyl. I wanted to make some wrap designs to put on the glass cups.
That definitely was not an original idea, not that I thought it was since I have seen similar cups all over, but when you see the things people have made with the new vinyl this style of cups are the number one project that has been made.

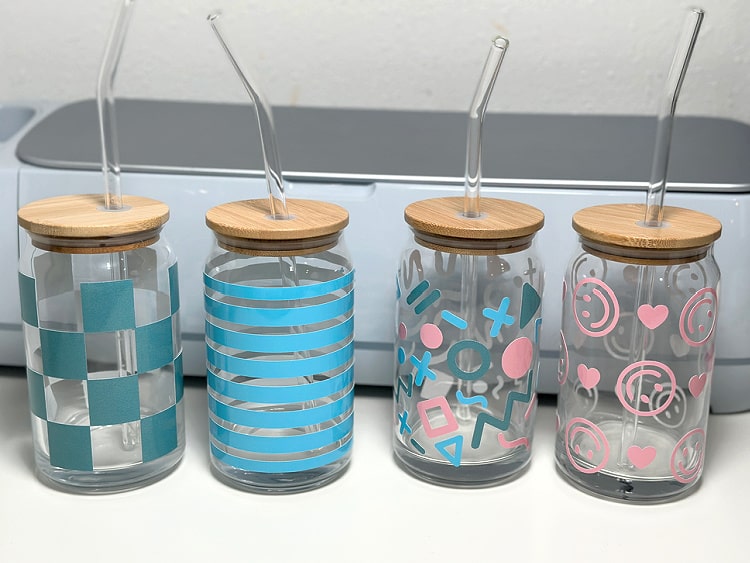
I bought a set of 4 cups on Amazon so I did 4 different designs, one of each of the 3 colors, plus one that used all 3 colors. I used a variety of design options in Design Space to create the designs that I used. I started by measuring the size that I needed, measuring around the cup and the height I wanted the design to be. I made myself a rectangle template that size so I could make sure to make my wrap the right size.
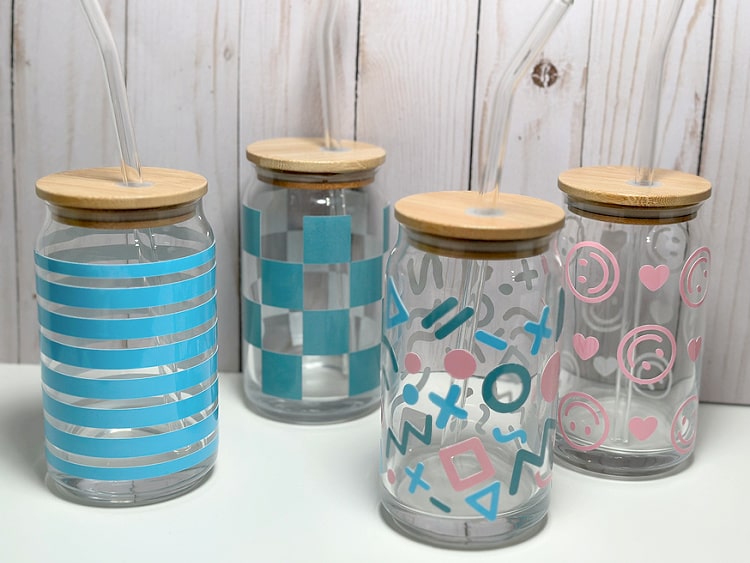
One I used basic shapes, squares in this case, to make the checkerboard pattern. I filled the rectangle shape I needed to fit my cup with squares and then attached them to make the cup wrap.
For another I used a design that was already made for a cup like this, the smiley face design. It was a 2 color layered design, the center of the smiley face was a different color, but I made a few adjustments to make it a single color/layer design that was more what I was looking for.

For the stripes I found a stripe design that was not quite the right size but I was able to easily stretch it to be the size I needed. Because it was just straight lines stretching it did not distort the image at all and it was an easy way to make the design work for my needs.
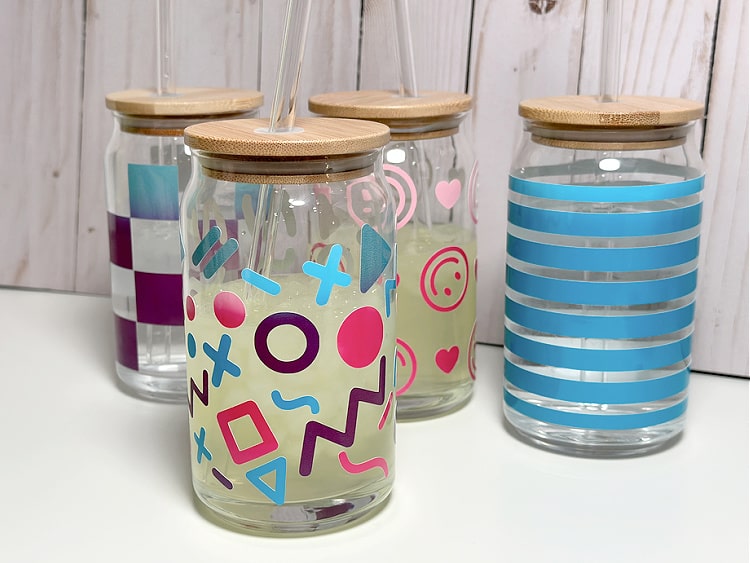
For the last one I found a multicolor squiggle and shapes design. Like the stripes it was not quite the right size but this time stretching it would definitely have distorted the image and it would not have looked good. It was a little too tall and not wide enough to wrap around. So I just ungrouped the design and rearranged some of the shapes to fit in the space I needed to fill. Then I changed the colors so that they were only 3 colors (the original design had more).
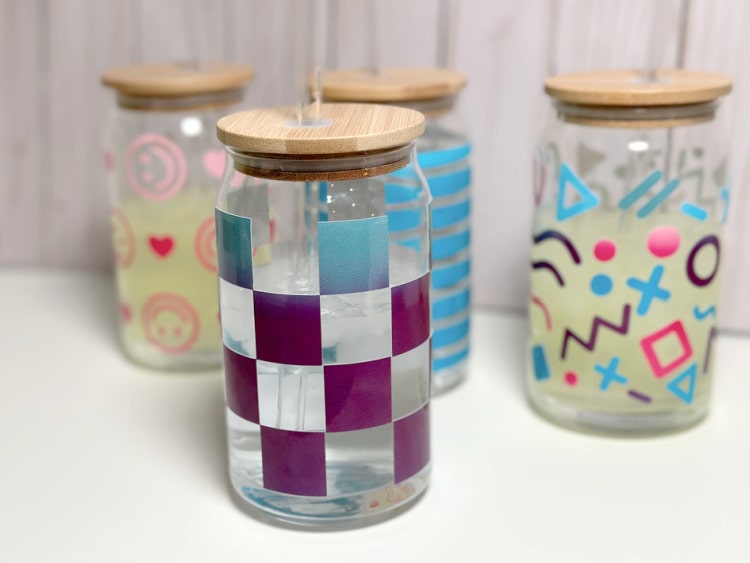
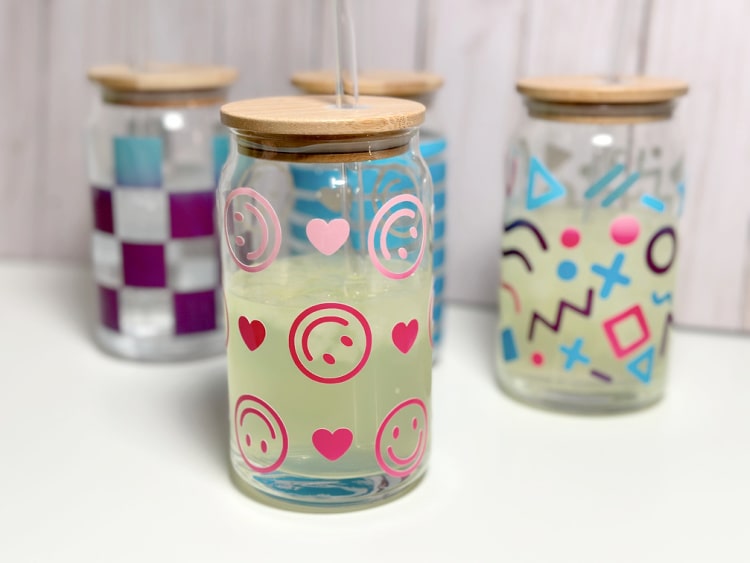
The cups tuned out cute, my girls all claimed them as soon as I was done. The smiley faces and squiggle shapes were the favorites. They loved filling them with ice and water or juice and seeing the way the colors changed as the cup got cold.
How to Make Glass Cups with Color Changing Vinyl Wraps
You will need:
- Cricut Maker or Explore
- Cricut Cold Activated Color Changing Vinyl
- Transfer Tape
- Can Shaped Glasses with Lids and Straws
Instructions:
Before cutting any designs measure around your cup and the height of the straight section of your cup. There are different sizes and you want to make sure you cut out the right size for your cup. I made mine about 3.5" tall and 9.5" wide, which I think is a pretty standard size, but I would definitely recommend checking to be sure.
If you want to create your own wrap start by making a rectangle the size that you need and filling that with the shapes or images you want to use.
To use the designs I used for my cups open my Glass Cup Wraps Design Space Project.
Cut the designs out of Cold Activated Vinyl and weed.
Use Transfer Tape to adhere the vinyl to the cup.

No comments :
Post a Comment