
-This post may contain affiliate links-

I have a wooden sign that I bought several months ago without a specific project in mind. I had a few ideas but never ended up making any of them, so I ended up just having a blank wooden sign sitting around. I figured with a new season just around the corner I would finally use that board.
I wanted to make a super simple sign that said something like "Hello Fall" or "Welcome Fall". I started by measuring the board to get the dimensions I was working with. Then I went over to Cricut Design Space to see what kinds of designs they had to choose from so that I could decide whether I wanted to use a design as is, or if I wanted to use different elements to create my own.

I found tons of options there to choose from, that were all included free with a Cricut Access subscription. I was specifically looking for a design that would work well on a vertical rectangle since that was the shape of sign I was working with. Some of the designs would have been better for square, circle, or horizontal signs. But regardless of shape, there were lots of designs to choose from.

I chose the design that I wanted, and honestly deciding on a design was probably the longest part of the project, well maybe the paint drying but even that didn't take long. I love quick projects that I can get done fast. When I made this one I had a small window of time to work in before I needed to be at school pickup, and I was totally able to get it done in that time. Don't get me wrong, I love more complex projects too, but sometimes it feels good to sit down and make something start to finish.

In trying to hurry to finish before picking up kids from school I did end up with the vinyl a little crooked on the board, but I was still happy with the way that it turned out.

How to Make a Hello Fall Sign
You will need:
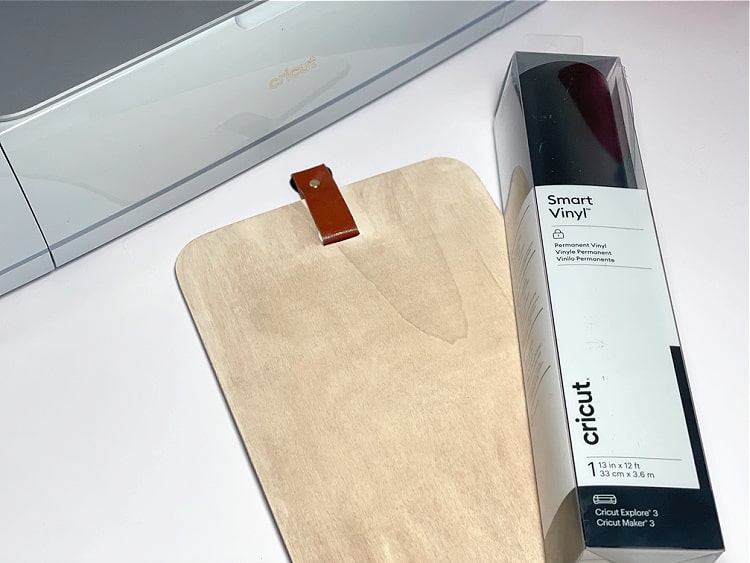
- Cricut Maker or Explore (I used my Maker 3)
- Black Vinyl (I used Cricut Smart Vinyl with the Roll Holder)
- Transfer Tape
- Unfinished Wood Sign (I bought mine at Micheals as part of their Summer collection and I don't know if it is still available)
- Brown Acrylic Paint (I used Folkart Acrylic in Mushroom)
- Wet Wipes or Rag
Instructions:
Begin by prepping the unfinished wood sign. My unfinished sign was a very light wood and I wanted a little more color to it so I did a faux stain with acrylic paint. I still wanted a light color so I chose a light brown/taupe color.
I like to use a wet wipe method to faux stain with paint. You can either use a paintbrush to paint the sign, then use the wet wipe (or a damp rag) to wipe off the paint, leaving just a thin layer, or you can squirt a little paint onto the wood and use the wet wipes or rag to spread the paint and wipe it of at the same time.
Set the sign aside to dry. It shouldn't take long to dry since it is such a thin layer of paint, but you want it to be fully dry so that the vinyl will stick.
Choose the design you want, or you can use the same design I used : Hello Fall Sign
Resize the design as needed to fit your design.
Cut the design from vinyl. You can use regular vinyl or Smart Vinyl. I used Smart Vinyl with the roll holder which made it really easy to cut out without needing a mat, but either way will give you the same finished result.
Weed the design.
Apply transfer tape, and use to transfer the design to your wooden sign.
Peel off the transfer tape and enjoy your new sign!

No comments :
Post a Comment