
-This post may contain affiliate links, I receive a small commission from purchases made after clicking the links-

I never really imagined myself being a sports mom, mostly because I am pretty much the most unathletic person ever, but this year my two high school kids are both in sports this fall, one in football and one in volleyball, and they are both hoping to play basketball in the winter. So needless to say our evenings and weekends this month have revolved around practices and games.
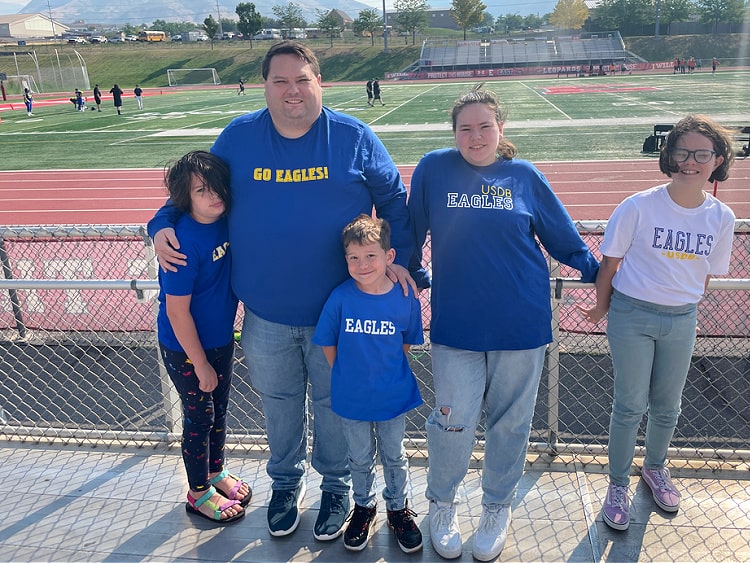
Their school is a small school that has never had a football team before, this is their first year ever. So it is kind of a big deal in the community. It is a big enough deal that there was even a local news story about it. And it has been a few years since they have had a volleyball team too, so they are both playing on first year teams where all of the players are brand new to the sport. I wanted to have some shirts to wear to their games to show our support. We didn't have any school shirts, or any where to purchase any, but luckily I have a Cricut and a stash of iron on so I bought a few plain shirts in school colors and got to work.

Obviously most people are not going to be interested in making shirts for my kids school, so the point of this sharing this project will not be for you to be able to recreate the exact same shirts that I made, but instead to share the process of creating school spirit shirts, as well as some font suggestions, material, and design ideas.

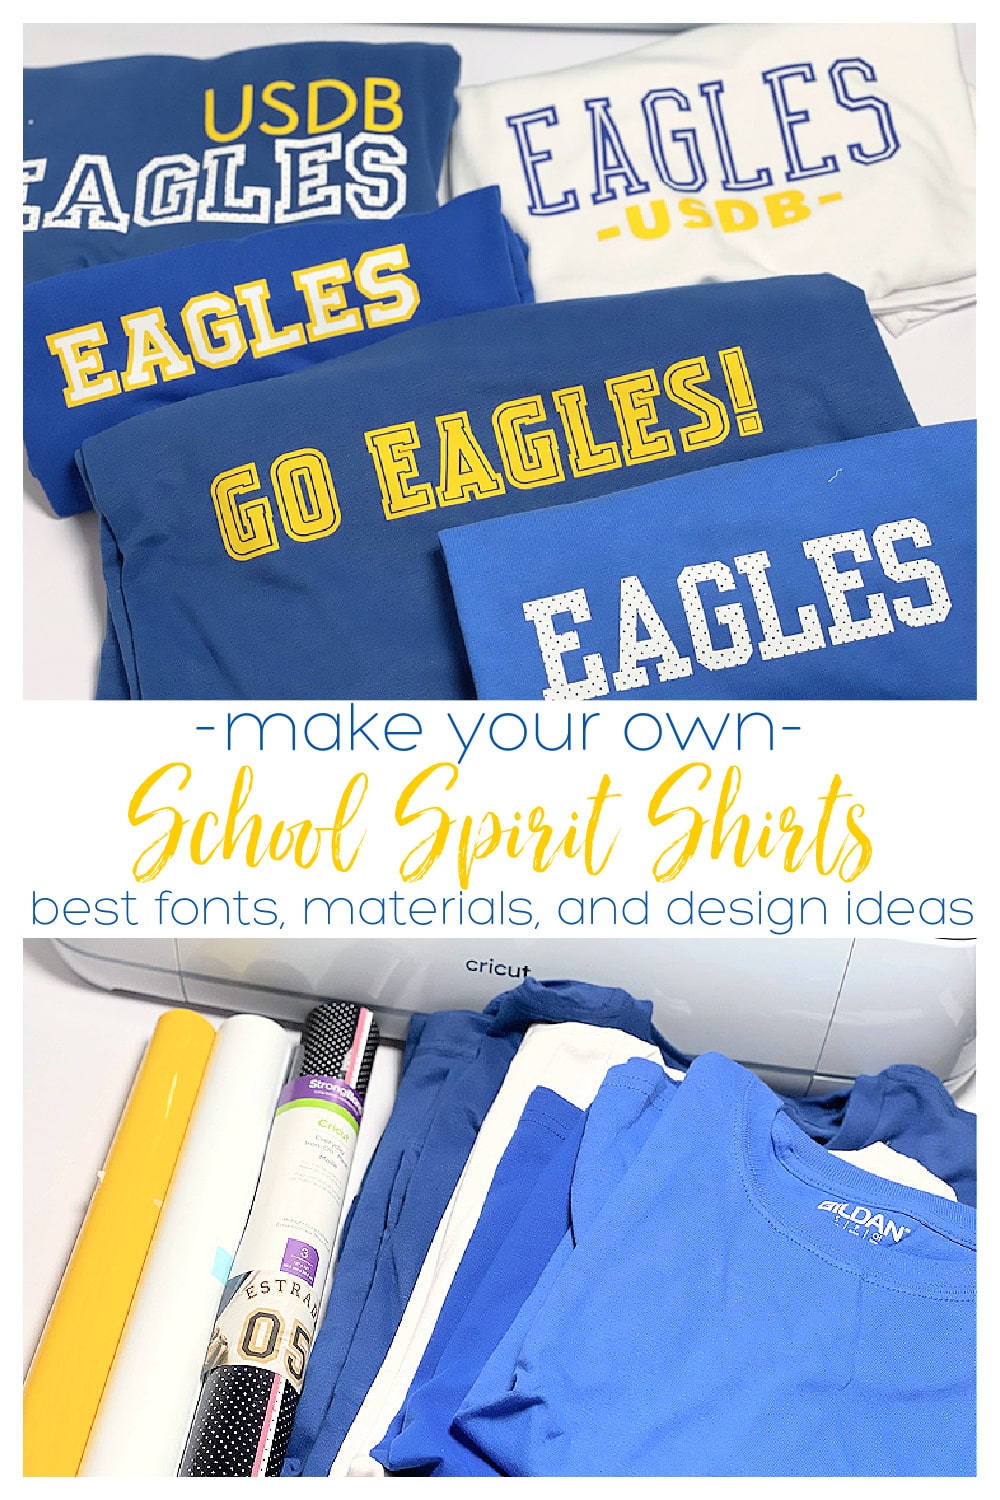
How to Make School Spirt Shirts- and the Best Cricut Fonts to Use
You will need:
- Cricut Maker, Explore or Joy (I used my Maker 3)
- Mesh Iron On
- Everyday Iron On
- EasyPress
- EasyPress Mat
- blank t-shirts
Instructions:
I am going to divide this into 4 sections: Iron On Options, Font Choices, Shirts, and Design Ideas.
Iron On Options
Let's start with the best iron on options. I chose to use two different types of iron for my shirts-
- Everyday Iron On- This is a great option because it comes in a huge variety of colors so you will most likely be able to find colors that work for your school. Our school colors are blue, yellow, and white, and I used all three of those colors in Everyday Iron On.
- Mesh Iron On- Mesh iron on is a really fun option to use for sports shirts, because it has a jersey type look to it. The downside to this is that it is a limited selection of colors. The only color that worked for me was white. I did really like the look of it though, so it is a great choice if it is available in your school colors.
There are other types of iron on that would also work great depending on the look you are going for, they type of shirt you are using, and the machine you have. Glitter Iron On, Glitter Mesh, Mesh Stars, Smart Iron On if it is compatible with your machine, and if you are using athletic shirts then SportFlex may also be a good option.
Font Choices
There are a lot of athletic/collegiate style fonts available, for the purposes of this post I am going to focus on those available in Cricut Design Space. All of these fonts that I used are available free with Cricut Access, or you can purchase them individually (most are $4.99 to purchase).
I found a variety of fonts that are the style I was looking for, the kind that looks like most jersey numbers. There were options that are solid block letters, two color, outlines, and combinations of those. There are options that are taller and skinnier, as well as some that are thicker and blockier.
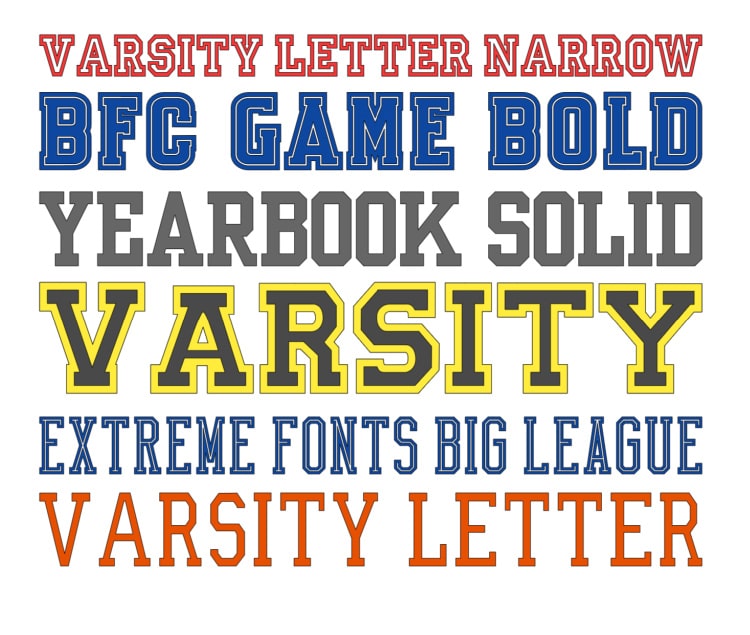
The options I found in Design Space are:
- BFC Game Bold- a bold, slightly curved, block letter with an outline in the same color
- Extreme Fonts- Big League- a tall, stretched athletic style font, with an inner line cutout
- Varsity- a 2 layer font option, very classic sports style font
- Varsity Letter- similar to Varsity but a single layer and narrower
- Varsity Letter Narrow- outline version of the varsity font (includes a hidden layer you can use if you want a 2 layer option more similar to varsity
- Yearbook Solid- a bold, block option, single layer
I also paired these fonts with a couple of really simple, plain fonts on some of the shirts that I made, including Drescher Grotesk Std Roman (the thinner font) and Eagle Bold (the bolder font), both also included with Cricut Access.
If you want to find free or paid options outside of Design Space search for things like Varsity, Collegiate, Sports, Athletic, and Jersey.
Shirts
Where to find shirts?
I honestly almost always just go to Walmart if I am buying shirts to make for my family. They are pretty inexpensive, and there is a lot of style, fit, and size options. I think the most expensive shirts I bought for this project was $6.98, and the cheapest was $2.50.
You can find the plain shirts that people use for crafting (like Gildan brand) in a lot of colors at craft stores, but I feel like those shirts can be really heavy, thick material, and not the most comfortable or best fitting. Some stores are starting to carry other brands that are a little bit nicer, like Bella + Canvas but they are more expensive. There are also a lot of place you can go online to purchase shirts in the colors, sizes, and styles you want- like jiffyshirts.com, as well as Amazon, but I often decide last minute to make something and don't want to wait to have them shipped.
For shirts like these sports shirts I will typically look in the mens and boys sections for all of the shirts because they were more likely to have the colors I needed, and most of the shirts you can get other places are unisex anyway so it ends up being similar. However, one of the nice things is that you do have a lot of different styles, fits, and sizes to choose from. The shirts I bought were a variety of brands, so the colors were not exactly the same, but they were close enough that I felt that they all worked.
Design Ideas
Now last but not least, let's talk design ideas.
I knew that I really wanted to focus on the mascot, rather than the school name. So in our case that was the Eagles. I didn't want to try to worry about logos, or anything like that. I felt like just putting Eagles on a shirt in the school colors would get the point across. I also did not include any numbers or anything, although, that is definitely a great option if you are supporting a specific player. My problem is that I wanted shirts that could be worn to either the football games to support my son (#55) or to volleyball games to support my daughter (#11), so leaving the number off made more sense in our situation.
Here are the Designs that I came up with:
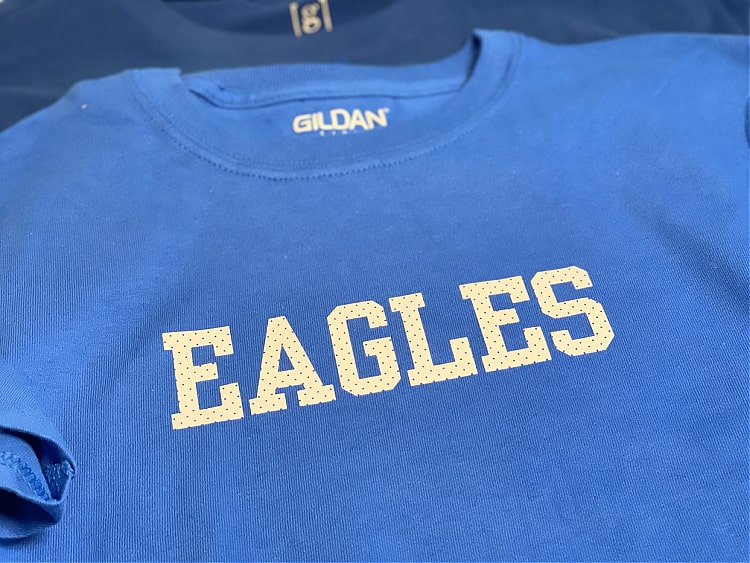
Shirt #1- Mascot Name in Mesh Iron On
The first shirt I decided to keep it really simple and just did the mascot name in white mesh iron on on a blue shirt. I used the font Yearbook Solid for this shirt.

Shirt #2- Mascot Name in 2 Layers/Colors
For the next shirt I still kept it super simple with the mascot name but this time I used Varsity, a multi-layer font. I used white and yellow everyday iron on on a blue shirt to get all of the school colors in. The yellow outline is the top layer and sits on top of the white letters.

Shirt #3- Go Team!

For this shirt I chose to still just use the mascot name but put the word go in front, in this case Go Eagles! I used the font BFC Game Bold for this shirt design. This font has the letters, then a thin space, and an outline around the outside in the same color, all cut as a single layer. I used everyday iron on in yellow on a blue shirt for this design.

Shirt #4- School Name and Mascot

This shirt was probably my favorite design of all of them. For this design I made the school mascot in big bold outline letters using the font Varsity Letter Narrow. I cut that out of white mesh iron on. Then along the top, aligned on the right, I added the school name, in initial form, in a simple basic font (Drescher Grotesk Std Roman). I cut that out of yellow everyday iron on to add some contrast and incorporate all of the colors.

Shirt #5- Mascot and School Name

This last shirt was the only one that I chose to use a white shirt instead of blue. I wanted to show another option for shirt colors. So for this one I used blue and yellow everyday iron on, rather than the white I used on most of the others. I typed the mascot name in Extreme Fonts-Big League, which is a taller, more stretched version of this style of font, so this made the word Eagles pretty tall compared to the other shirts. I cut that out of the blue iron on. Then below in a chunkier, bold font (Eagle Bold), to contrast with the tall skinny Big League font, I added the initial version of the school name. I centered it with hyphens on each side just for a little added design element.
Hopefully if you are a family with kids in high school sports, and you want to make some shirts to show your support at their games, then this post helps. All of the designs I made were super simple, but they were still a great way to show our school spirit at the game. We had lots of school and community members asking where we got the shirts and how they could get one for themselves, so they were a pretty big hit with everyone.
No comments :
Post a Comment